How to knit a triangular shawl with lace edges?
Knit SisShare
Introduction
When we were little, our grandmother often told me about the delicate shawls she knitted, where the lace seemed to float like wings. A triangular shawl with lace borders embodies this combination of lightness, elegance, and technical skill.
If you're wondering how to knit a triangular shawl with lace edging , this article is for you: I'll guide you step by step, from yarn selection to completion, with our tips, pitfalls to avoid, and ideas for adapting it to your style. Ready to knit your "lace veil"?
What is a triangular shawl with a lace border?
Short answer : A triangular shawl is a shawl in the shape of a triangle (with two sides and a point), often constructed with regular increases. The lace border is a decorative openwork section that frames or finishes the shawl, adding refinement and elegant pattern.
Vocabulary & variants
▪️ Triangle shawl
▪️ Lace border (edging)
▪️ Openwork lace, lace pattern
▪️ Top-down, bottom-up, center-out construction
For example, the Nimble Needles website offers a good general tutorial on ways to knit a triangular shawl, including adding decorative borders.
The Jill Wolcott blog also offers an interesting reflection on the joining of the body and the border in a lace shawl.
1 | Choosing the materials and yarn for a lace-edged shawl
Thread selection
▪️ Opt for a light, fluid fiber with good drape : fingering, lace, or light sport.
▪️ Opt for threads with good definition so that the lace patterns are clearly visible.
▪️ If possible, choose a sustainable / ethical yarn (fine merino wool, silk, lightweight alpaca) so that your shawl is a piece of jewelry that you will wear for a long time.
▪️ Make sure you have enough yarn (or even +10%) because the lace parts often use more yarn than the plain body.
Needles & Accessories
▪️ Long circular needles (to hold all the stitches)
▪️ Markers (for pattern guides, beginning of row)
▪️ Contrast thread or border marker threads
▪️ Pattern card or diagram for lace
Voltage/sample correspondence
Make a swatch including the lace pattern, block it (wash and dry) to measure how the pattern "opens up". This will give you the actual stitches and rows in context.
2 | Construction: how to structure the shawl and the lace border
Main construction methods
Here are the most common approaches for a triangular shawl:
▪️ Top-down triangle : we start at the top (one stitch or a few stitches) and increase on both sides.
▪️ Bottom-up / wide base : a wide band is built up, then reduced until the top.
▪️ Centre-out : start from a small base and increase symmetrically.
The "top-down" technique is often used when adding a border because it allows for controlled progression towards the border.
When and how to incorporate the lace border
The border can be:
▪️ Knitted in continuity : that is to say that the increases and the lace pattern are combined in the same row.
▪️ Attached-on edging : the border is knitted after the body of the shawl has been finished, by picking up stitches or by picking up stitches plus additional stitches.
Often, the center of the body pattern is aligned with the center of the border for a smoother transition.
3 | Step-by-step tutorial for knitting a triangular shawl with a lace border
Here is a simplified version (with simple lace patterns) that you can modify according to your level:
Step 1 — Startup (top-down)
1️⃣ Cast on 3 stitches (or use a special “tab” start for a straight edge)
2️⃣ Row 1 (RS): knit, increase, knit, increase, knit (example)
3️⃣ Row 2 (WS): Knit in reverse (or according to background pattern)
Continue by alternating rows of “increase + pattern” and return rows (WS), until you reach the desired number of stitches for the body.
Step 2 — Transition to the border
When the body reaches its desired width, reserve the stitches for the border. You can:
▪️ Start the lace pattern directly in continuity
▪️ Or insert a joining strip (a few rows of stockinette stitch or simple stitch) to make a smooth transition.
Step 3 — Knit the lace border
▪️ Follow the lace pattern (yarn overs, decreases, graphic patterns)
▪️ Ensure symmetry (left/right)
▪️ If the border is to “burst out” into points, you can distribute the increases/decreases to create points.
▪️ If you are using an attach-on border, pick up the stitches from the body and knit the border (sometimes stitches are added for the pattern).
Step 4 — Finishing & blocking
▪️ Finish the border according to the pattern (elastic bind-off, stretchable folding potion)
▪️ Carefully block your shawl (shape the patterns, points, border)
▪️ Tuck in the wires
Here is a helpful video to visualize the knitting of a triangular shawl with a lace pattern:
4 | Common mistakes & tips to avoid them
Incorrect pattern/border match
If the lace pattern on the body and the lace pattern on the border are not aligned, the border may appear "off-center". Solution: plan and align the pattern centers.
The edge is too tight or too loose.
If the tension on the border differs from the body tension, you'll get distortions. Ideally, block the border swatch and adjust the needle size.
Do not plan the increases in the border
If your border requires increases (for points, patterns), you must incorporate them or provide a margin.
Ignoring the blockage
The lace really "opens up" at the blocking stage. If you don't block it, you lose a lot of the decorative effect.
5 | Knit-sis Adaptation Ideas & Patterns
Here are some ideas for incorporating this shawl into your collections, or adapting it with existing patterns:
Take inspiration from Marguerite 's openwork style for the shawl's border. → See the Marguerite pattern
Use light Cardichou motifs for the central sections, then add a lace border. → See the Cardichou pattern
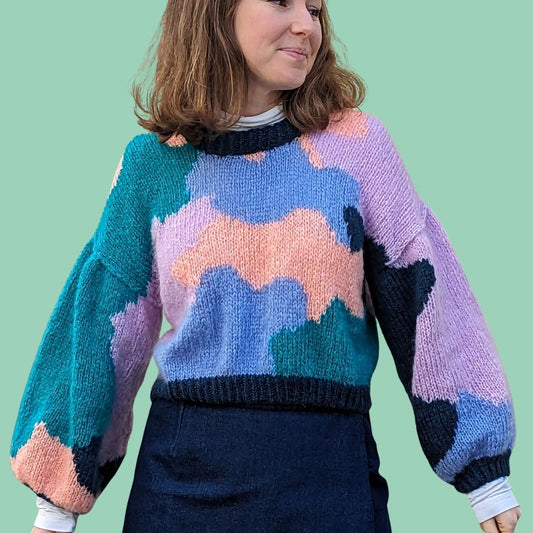
When you have finished Twist & Shout , we could imagine a “small stole” version with a lace border.
Conclusion
Knitting a triangular shawl with lace edges is a project that combines delicacy and skill—but with the right steps, you can do it. Choose a good yarn, plan your transition to the border, apply even tension, and block well to make the patterns stand out.
👉 Don't forget to subscribe to our newsletter to receive upcoming tutorials and exclusive patterns!
