Knitting accessories: how to make a fringed scarf? 🧣✨
Knit SisShare
Are you dreaming of an easy-to-knit accessory that instantly makes a statement? A fringed scarf is THE perfect project for that. 🎉
In our Knit-sis family, it's a bit of a family ritual: our grandmother always added fringes to her scarves to give them that bohemian chic look. And we admit... we haven't stopped since!
In this article, we explain step-by-step how to knit a fringed scarf , even if you are a beginner. You will discover:
▪️ the equipment to be provided,
▪️ the simple method to add regular fringes,
▪️ our tips for a modern and trendy look.
👉 At the end, you will have all the keys to making a unique scarf (and perhaps make you want to try our other knitted accessory models 💕).
Why choose a fringed scarf as your first knitted accessory? 🌿
The fringed scarf is:
▪️ Accessible : a simple rectangle in garter or jersey stitch is enough.
▪️ Quick : perfect for knitting in front of a Netflix series 🎬.
▪️ Stylish : fringes immediately bring a bohemian, folk or contemporary fashion look depending on the threads chosen.
✨ Takeaway: This is a rewarding project, ideal for boosting your confidence when you're new to knitting.
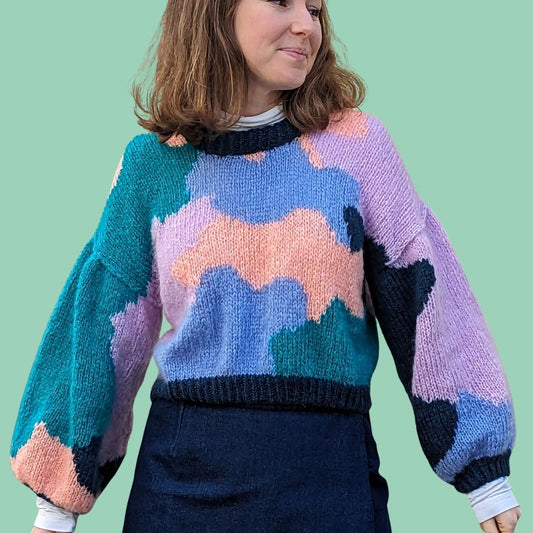
👉 If you like these types of quick and rewarding projects, take a look at our free pattern Doudou Sweater : soft, accessible and perfect for learning.
The materials needed to knit a fringed scarf 🧶
Before you begin, prepare:
▪️ Soft and warm wool (merino, alpaca, mohair depending on your preferences).
▪️ Suitable needles (circular or straight, depending on the desired length).
▪️ Sharp scissors .
▪️ A comb or ruler to measure bangs.
▪️ A wool needle to secure the threads.
💡 Knit-sis tip: For a modern look, mix two different colored yarns (e.g. beige + gold) in your fringes.
Tutorial: How to make a fringed scarf step by step ✂️
1. Knit the body of the scarf
▪️ Cast on the number of stitches needed for the desired width (e.g. 40 stitches for a standard scarf).
▪️ Knit in garter stitch (all stitches knit) or stockinette stitch for a smooth finish.
▪️ Continue until you reach the desired length (1.50 m to 2 m).
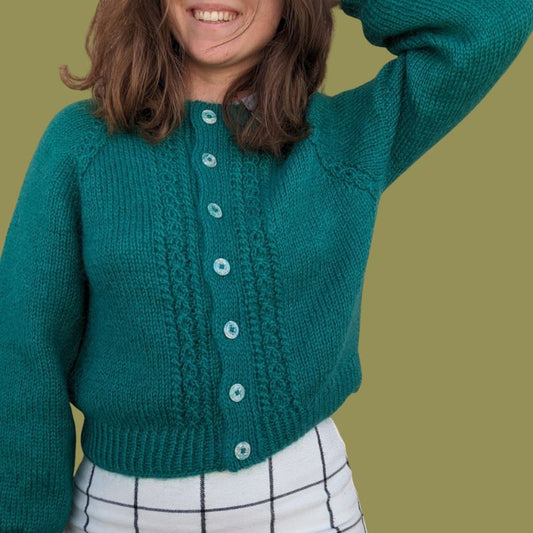
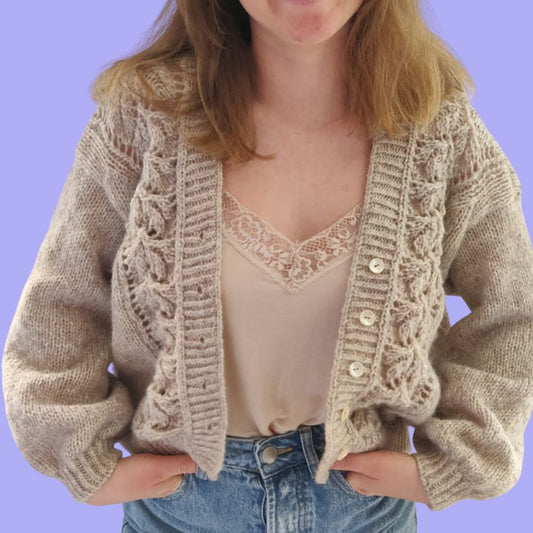
👉 For texture fans, we recommend you try the Marguerite cardigan : it introduces a pretty openwork stitch that also looks great as an accessory!
2. Prepare the fringes
▪️ Cut several strands of wool twice as long as the desired final length (e.g. for 12 cm of fringe, cut 24 cm of yarn).
▪️ Group them in groups of 2 or 3 for more density.
3. Fix the bangs
▪️ Using a yarn needle or crochet hook, fold the group of strands in half.
▪️ Pass the loop through a stitch on the edge, insert the ends into the loop and tighten.
▪️ Repeat all along the edge of the scarf.
💡 Knit-sis tip : alternate fringe lengths for a very modern layered effect.
4. Finishing touches
▪️ Lightly comb the bangs to place them well.
▪️ Cut them with scissors to make them even.
▪️ Block your scarf (delicate wash + dry flat) for a flawless finish.
👉 Keep it handy: this technique also works on sweaters or cardigans! Imagine fringes at the bottom of your Cardichou , for a revisited bohemian style…
Conclusion: get your bangs! 🌟
The fringed scarf is the perfect accessory to get started with knitting while creating a unique piece . With a simple rectangle, you get a fashion accessory that makes an impact, whether you are a beginner or an enthusiast.
👉 Want to go further? Discover our collection of modern and accessible patterns , designed to offer you quick and rewarding projects.
👉 Or sign up for our newsletter to receive exclusive tips, free patterns, and new products in advance.
