

How to Adjust the Size of Your Knitting Patterns for Perfectly Fitting Garments
Knit SisShare
Have you ever knitted a sweater or cardigan only to find that it was too big or too small? It’s a common problem for knitters, whether they’re beginners or experienced knitters. Luckily, adjusting the size of a knitting pattern is a simple solution that anyone can do. In this article, we’ll show you how to adjust your Knit-Sis patterns to get the perfect fit, no matter your body shape.
Why adjust the size of your knitting patterns?
A unique customization
Standard pattern sizes don't always fit everyone. Adjusting the size allows you to create tailor-made garments that reflect your style and fit your body shape perfectly.
Maximize your comfort
A sweater that is too tight or a cardigan that is too loose can be uncomfortable to wear. Knitting a fitted garment ensures optimal comfort, while highlighting your figure.
Step 1: Take your measurements accurately
Before you start altering your pattern, take your key measurements:
- Chest size
- Bust length
- Sleeve length
- Hip measurement (for long sweaters or cardigans)
Knit-Sis Tip: Use a flexible tape measure for accurate measurements.
Step 2: Analyze the pattern
Knit-Sis patterns include a detailed technical sheet with precise dimensions for each size. Compare your measurements with those in the pattern and identify any discrepancies.
Step 3: Adjust the number of stitches and rows
Change stitches for width
-
Simple formula:
Multiply your measurement by the pattern gauge to calculate the number of stitches needed.
Example: If your chest measurement is 90 cm and the gauge is 20 stitches per 10 cm, you will need 180 stitches (90 x 20 / 10).
Change rows for length
Adjust the length to your height by adjusting the number of rows. Check the gauge to determine how many rows correspond to 1 cm, and add or remove rows accordingly.
Step 4: Adapt the pattern's techniques
Knit-Sis patterns incorporate a variety of techniques such as raglan, basketweave and intarsia. Here are some tips for adjusting your pieces without altering the design:
- For a raglan: Adjust the increases or decreases to adjust the neckline and sleeves.
- For the jacquard stitch: Respect the patterns, taking care to adjust the stitches on the periphery of the design.
- For lace: Add or remove repeats from the pattern to fit your measurements.
Step 5: Make a sample
Before beginning your project, knit a swatch with the recommended yarn and needles to check your tension. Adjust if necessary by changing needle sizes or adjusting the number of stitches.
Knit-Sis patterns perfect for experimenting
If you're interested in getting started with sizing, here are some Knit-Sis patterns to try:
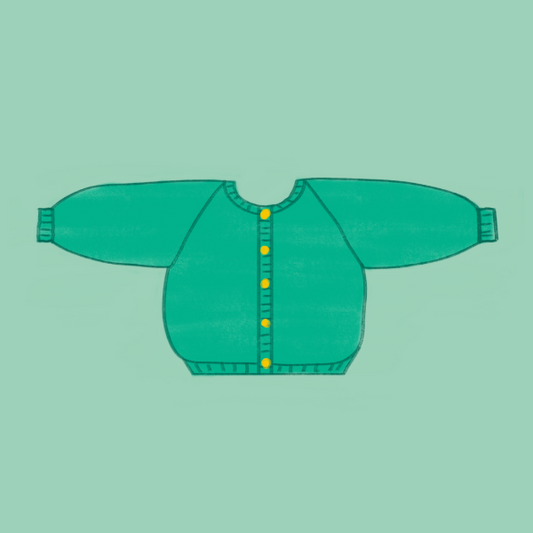
- The Aude Vest : With its seamless construction, it is ideal for experimenting with width and length adjustments.
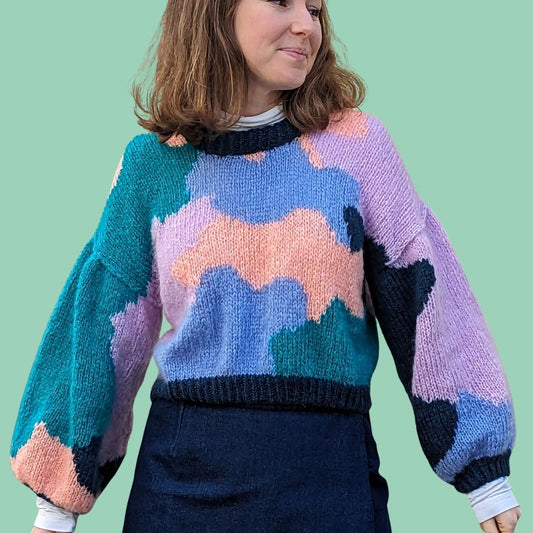
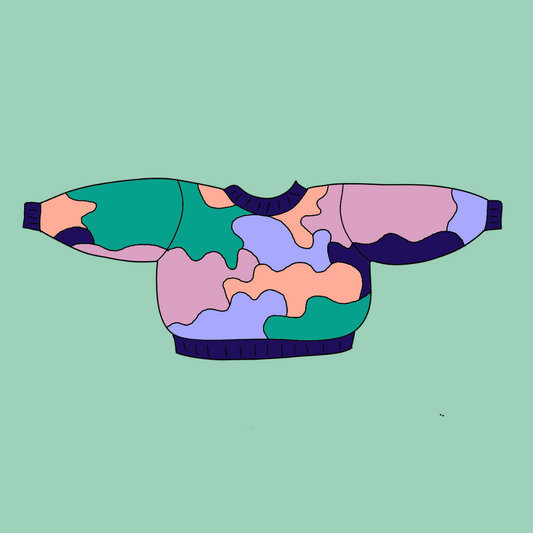
- The Câlin Short Sleeve Sweater : Perfect for playing with a change of colors while adapting the dimensions to your style.
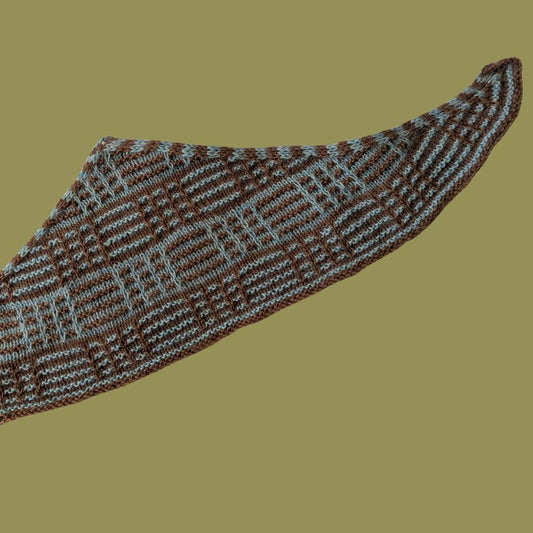
- The Tulip Vest : A stylish sleeveless sweater where you can easily adjust the fit to suit your mood.
Frequently Asked Questions
How do I know if I have adjusted the size correctly?
Pin the pieces together with safety pins or thread to check the fit before sewing the pieces together.
Can you adjust a pattern while knitting?
Yes, but it requires more planning. For Knit-Sis patterns, use markers to track your adjustments.
What mistakes should be avoided?
- Neglect the sample.
- Changing too many settings at once.
- Forgetting to note your adjustments to reproduce the project.
Conclusion
Adjusting a knitting pattern can seem daunting, but with the right tools and techniques, it can be a breeze. With the tips in this article and Knit-Sis patterns, you can now knit perfectly fitting garments that reflect your unique style.
Ready to get started?
Download our patterns from Knit-Sis.com and get started today!
Question: How do I adjust the size of a knitting pattern?
Answer: Take your measurements, analyze the pattern, adjust the number of stitches and rows according to your gauge, then test with a sample before starting your project.