


👉 Knitting the star stitch: a simple technique for a spectacular effect ✨
Knit SisShare
🌟 Introduction: Why is the star point so popular?
Looking for a knitting technique that's impressive without being complicated? The star stitch is perfect for that! ✨ Easy to learn, it creates a textured and elegant pattern that adds a dramatic effect to your projects. Whether you're a beginner or an experienced knitter, this guide will show you step by step how to master the star stitch.
👉 You will learn:
✅ The basics of the star point
✅ Common mistakes to avoid
✅ How to incorporate star stitch into your favorite projects
Hold on tight, let's go! 🚀
🏆 What is the star stitch in knitting?
Star stitch is a raised knitting technique that creates a texture in the shape of small stars. It is perfect for:
-
Accessories like hats or scarves
-
Sweaters and vests with an original touch
-
Cozy blankets
🔍 Why is the star point so popular?
✅ Easy to learn
✅ Sophisticated visual effect
✅ Perfect for adding texture to a simple project
🧵 Materials needed to knit the star stitch
Before you begin, make sure you have the right equipment:
✅ Knitting needles : recommended size based on your yarn
✅ Quality yarn : choose a soft, well-defined wool to highlight the pattern
✅ Stitch markers (optional): to easily follow the pattern
🚀 How to knit the star stitch: the step-by-step tutorial
🪄 Step 1: Cast on stitches
-
Cast on a number of stitches that is a multiple of 4 + 1.
-
Knit a row of stitches to prepare the pattern.
🌟 Step 2: Knit the star stitch pattern
➡️ 1st row (right side) :
-
Slip a stitch knitwise
-
Knit 3 stitches together (do not drop stitches)
-
Make a throw
-
Knit the 3 stitches together again
-
Repeat until the end of the row
➡️ 2nd row (purl) :
-
Purl all stitches
➡️ 3rd row (right side) :
-
Knit a stitch
-
Repeat the pattern from the 1st row, shifting the pattern by one stitch
➡️ 4th row (purl) :
-
Purl all stitches
👉 Repeat these 4 rows until the desired length!
💡 Tips for successfully completing the star point
✅ Do not tighten your yarn too much when slipping stitches.
✅ Test with a solid color yarn to see the pattern better.
✅ If you are a beginner, start with a simple project like a scarf.
🏆 Inspiring projects to get started in knitting
🎯 The Poppy Top – perfect for summer 🌸
👉 Easy and quick to knit, this lightweight intarsia jersey top
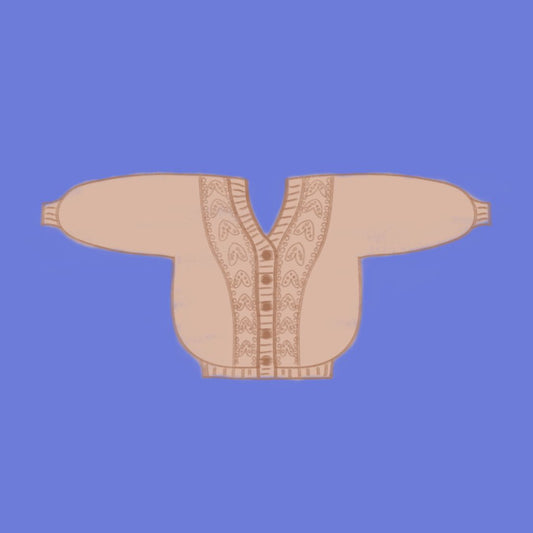
🧥 The Cabbage Vest – perfect for beginners 🌼
👉 Add a touch of texture with the star stitch on the sleeves or edges for a revisited version of this classic model.
🏵️ The Marguerite Vest – floral elegance 🌸
👉 Combine the star stitch with the openwork patterns of the Marguerite Vest for a delicate and sophisticated texture.
👉 💖 Discover all our models available on Knit-Sis !
❌ Common mistakes to avoid
🚫 Tighten the thread too much → The pattern will be less visible and the texture will lose its relief.
🚫 Forgetting the throw → Stars will not form properly.
🚫 Do not block the knitting after finishing → The pattern may not appear correctly.
💖 Why adopt the star stitch in your creations?
✨ It adds a unique texture
✨ It is easy to customize with different colors
✨ It is suitable for a wide range of projects
The star stitch is the perfect touch to transform a basic project into an elegant and original piece!
🎯 Ready to take action?
👉 Discover the Coquelicot Top for free or explore our complete collection of knitting patterns on Knit-Sis !
🔥 Don't miss our limited edition models – Available while stocks last! 🔥
⭐ Conclusion: The star stitch, a classic revisited!
The star stitch is a simple yet visually stunning technique that can transform any knitting project. With this guide, you now have all the keys to mastering it! So, why not give it a try today?
👉 Discover our flagship models like the Chou Vest or the Coquelicot Top – available now on Knit-Sis ! 😍


