🧶 Easy knitting: how to learn to decrease and increase step by step
Knit SisShare
When you start knitting, you feel super proud after your first rectangle (scarf or snood 🎉). But very quickly, the desire to go further arrives: to knit a sweater, a cardigan, to give a real shape to your knitting... And then, a question arises:
👉 “How do you make your knitting wider or narrower?”
Good news: that's where increases and decreases come in . Without them, there's no well-defined sleeves, no pretty necklines, no fitted sweaters. They're the foundation for taking your style to the next level .
And we promise: with the right explanations (and a little practice), it's accessible to everyone . We'll show you the easiest methods, with our tips from fellow knitters who struggled... so you don't have to 😉.
🔑 1. Knitting decreases: how to reduce stitches easily?
Decreases are used to shrink the knitting (sleeves, armholes, necklines).
The easiest techniques:
▪️ Knit 2 together (k2tog)
👉 The simplest method. You insert a needle into two stitches at the same time and hey presto, only one stitch comes out. It leans to the right.
▪️ Simple overlock (ss)
👉 Slip one stitch, knit the next, then cast off the slipped stitch. The result: a decrease leaning to the left.
💡 Knit-sis tip: Alternating between the two methods allows for more symmetrical and prettier edges.
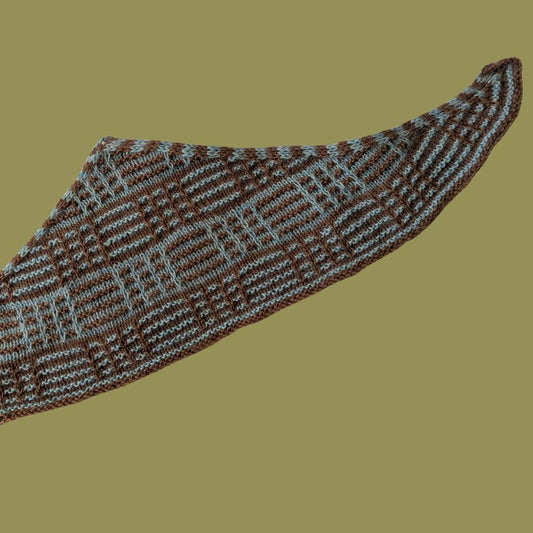
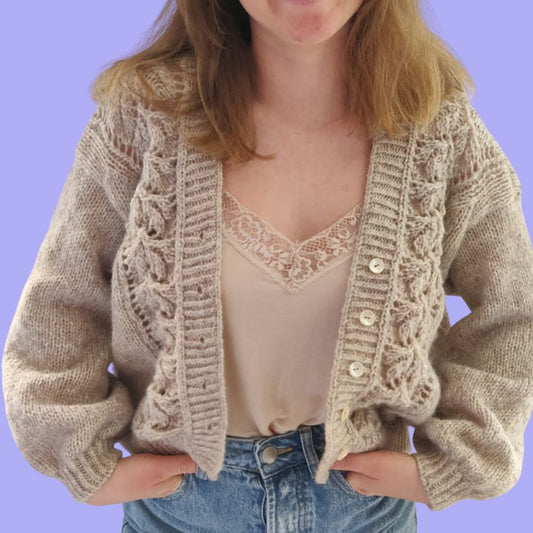
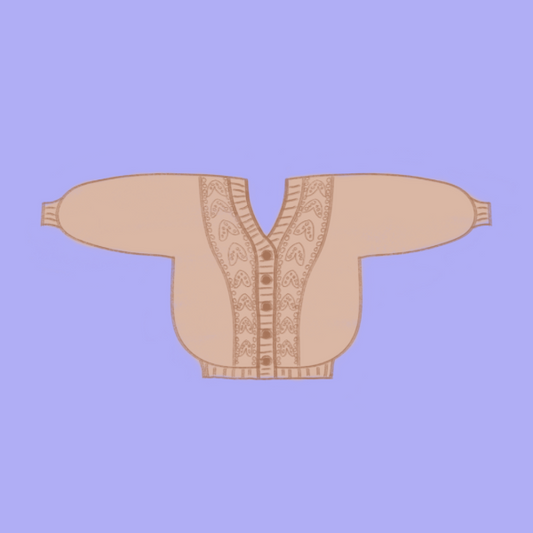
👉 Concrete example: our Marguerite cardigan uses decreases to elegantly design its openwork sleeves.
➡️ See the Marguerite pattern
Remember: two techniques are enough for 90% of projects → 2 sts together (right) and simple overlock (left).
🌱 2. Knitting increases: how to enlarge your work?
Increases allow you to add stitches and therefore widen the knitting (raglan sleeves, flared sweater bottoms, patterns).
The most accessible:
▪️ Intercalary Augmentation (IA)
👉 We lift the horizontal thread between two stitches and knit it → without anyone noticing, we gain a stitch.
▪️ Make a throw (YO / jeté)
👉 Wrap the yarn around the needle to create a new stitch. Simple, but it leaves a small hole (perfect for lace).
▪️ Knit in the front AND back loop of the same stitch (KFB / knit in the front and back)
👉 One stitch becomes two, easy and quick.
💡 Knit-sis tip: for a discreet look, opt for the intermediate increase . For a decorative look, the yarn over is magical ✨.
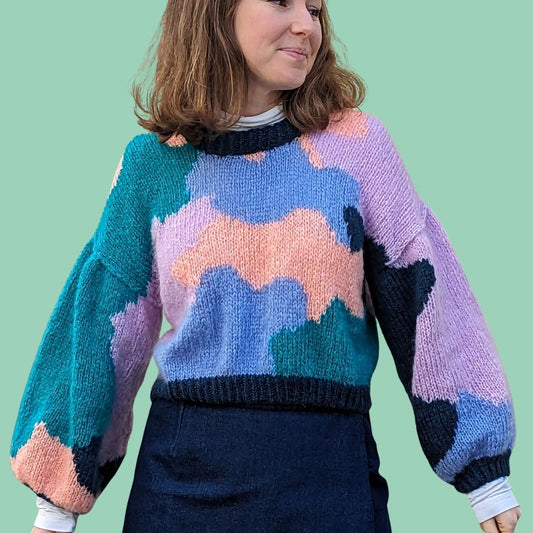
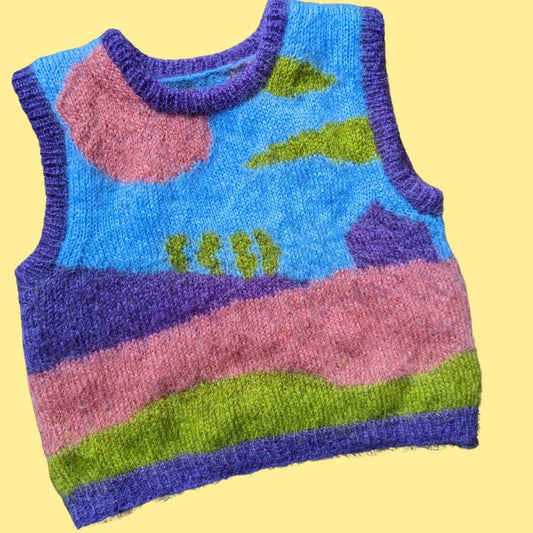
👉 Concrete example: the Festi vest uses top-down raglan increases, perfect for stress-free learning.
➡️ See the Festi pattern
Remember : choose the augmentation according to the desired result (invisible or decorative).
🧶 3. How to easily practice decreases and increases?
Before you start a whole sweater, practice with some quick projects :
▪️ Samples (squares where you test each technique).
▪️ A simple top like our free Coquelicot pattern , which allows you to play with increases without any hassle.
➡️ Download the free Poppy pattern
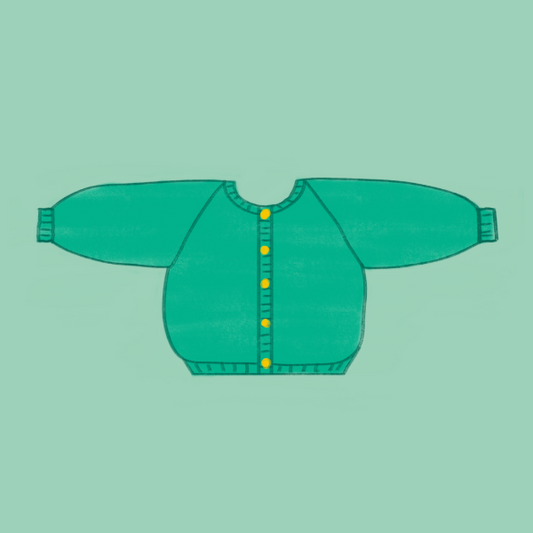
👉 For a more cozy project, the Cardichou cardigan is perfect: easy, soft, constructed top-down with increases and decreases → pedagogy embodied.
➡️ Discover Cardichou
Remember: it’s better to test on a small project before embarking on “the sweater of your life” 😅.
✨ Conclusion: ready to add some texture to your knits?
Learning how to decrease and increase is the step that transforms a beginner into a true creative knitter .
With these simple techniques, you will be able to:
✔ Model your works
✔ Create elegant shapes
✔ Finally dare to knit complete sweaters and cardigans
And to put this into practice right now, take a look at our accessible models:
▪️ Marguerite (elegant diminutions)
▪️ Festi (easy raglan increases)
▪️ Cardichou (top-down vest for progress)
👉 Subscribe to our newsletter to receive our exclusive tips, free patterns and discover our next creations in preview (be careful, some models disappear quickly 👀).
