🧵 Knitting sweaters: how to assemble the different pieces?
Knit SisShare
Let's face it: finishing a knitted sweater can be a real challenge 😅.
You've spent hours knitting the back, the front and the sleeves… and when it comes time to put it all together, stress sets in: invisible seam, perfect alignment, shoulders that don't gape… In short, it's often the dreaded step .
Good news ✨: we've been there (more than once 😅), and today we're sharing our knitting sisters' tips for assembling your sweaters easily, neatly, and without any hassle . At the end of this article, you'll have a complete how-to guide plus a handy cheat sheet.
Why is assembly so important?
Assembling the pieces of a sweater is not just a formality. It's what gives knitting its character.
▪️ its durability (a sweater that doesn't stretch out after two wears)
▪️ its comfort (no scratchy seams or poorly attached sleeves)
▪️ its finished look (we avoid the “roughly handmade” effect and we get a professional result).
👉 Fun fact: our first hand-sewn sweater looked more like an asymmetrical tunic than a garment 😅. Since then, we've learned that sewing is almost an art form in itself within knitting.
The different methods of assembling sweaters
1. Invisible mattress stitch (most popular method)
It's the star of finishing : the mattress stitch allows you to join two pieces edge to edge without any visible seam.
▪️ Ideal for side seams (back + front).
▪️ We work with a yarn needle.
▪️ The result is almost magical ✨: the stitches fit together as if by magic.
👉 Knit-sis tip: tighten lightly, but not too much, to maintain the elasticity of the knit.
2. The shoulder seams are joined using a backstitch.
The shoulders need to be strong 💪: they support the weight of the sweater.
▪️ We prefer a backstitch or grafting (if the pattern allows it).
▪️ Result: a flat and strong seam.
➡️ Example: the sweater Strippie , knitted in the round with only the shoulders to finish, avoids a maximum of sewing – ideal for those who want to save time.
3. Attach the sleeves
Two options:
▪️ Flat sleeves : the armhole is sewn with a mattress stitch.
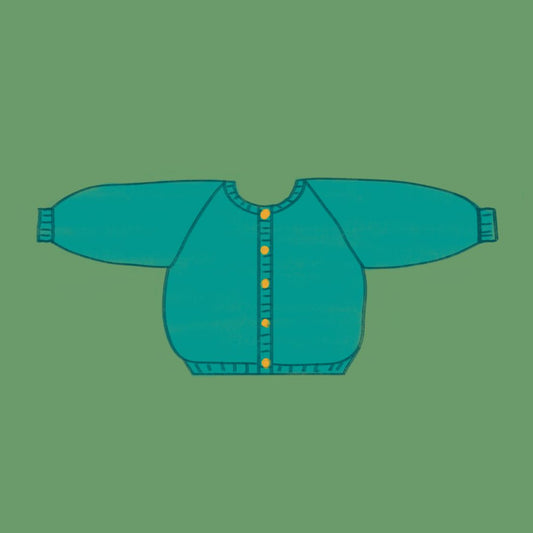
▪️ Sleeves set in the round (top-down) : no sewing required 🎉 (this is the case for the vest) Cardichou ).
👉 If you're a beginner, opt for a seamless pattern (like the sweater) Doudou , perfect for learning).
4. Borders and finishes
▪️ Carefully tuck the ends in with a yarn needle.
▪️ Block your sweater (gentle wash + dry flat) for a professional finish.
💡 Tip: Blocking the knitting before assembling can make it easier to align the pieces.
Key takeaway ✨
▪️ The mattress stitch for the sides = made invisible.
▪️ Back stitch or grafting for the shoulders = strength.
▪️ Choosing a no-sew pattern simplifies life.
▪️ Always block before assembly = neat seam.
Conclusion
Assembling the pieces of a sweater is a bit like bringing your project to life: each seam brings you closer to the magical moment when you put it on for the first time 💖.
If you want to get started without stress, discover our patterns specially designed to limit or simplify assembly:
▪️ Cardichou (raglan top-down, almost zero seams!)
▪️ Festi (circular knitting, very accessible)
▪️ Soft toy (free) (perfect for starting out and testing without pressure).
👉 And if you like our tips, sign up for our newsletter to receive more exclusive knitting tutorials and previews of our new designs.


