


How to repair a damaged knitted garment (small hole or dropped stitches)? 🧵
Knit SisShare
You're knitting with passion, and then… a little hole appears, or you realize you're missing a stitch! 😱 Don't panic! We, Lenny & Louise, two sisters and founders of Knit-sis, learned to knit with our family, from our grandmother and aunt. We went through all the struggles—holes, dropped stitches, botched finishes—and now we're here to help other knitters avoid those "oh no" moments.
In this article, we'll guide you step-by-step through repairing damaged knitting , whether it's a small hole or a dropped stitch. We'll cover: why it happens, how to easily repair it, and how to prevent it from happening again. And of course, we'll show you some Knit-sis patterns to motivate you to get back to knitting with confidence.
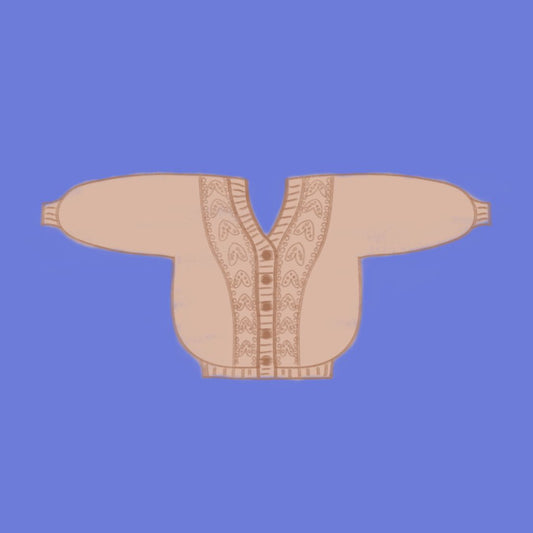
👉 Want to start a "clean" project next? Take a look at our accessible pattern Cardichou (The Cabbage Vest) — perfect for treating yourself.
Why is my knitting damaged? (holes, dropped stitches, etc.)
Common causes of small holes or lost stitches
▪️ A stitch dropped from the needle and unrolled over several rows.
▪️ A thread that is too loose or lost in an openwork pattern, creating an “invisible hole”.
▪️ A slipped stitch without picking it up at the right time.
▪️ Uneven tension or a lack of vigilance on a critical level (we've experienced it!).
▪️ A “dangerous” stitch left at the edge or on a moving part (sleeve, armhole).
📝 Remember: A small hole or a dropped stitch isn't the end of the project. With a little method, you can repair it neatly and get back to work.
The impact if we don't repair it
▪️ The hole can widen, the mesh can transform into a “ladder” that goes up to the neckline… phew.
▪️ The visual result suffers as a result (hanging wire, visible hole under an arm, etc.).
▪️ In case of wear or washing, the weakened area will enlarge.
▪️ Morally: it spoils the pleasure of wearing your knitwear (we know what we're talking about!).
💡 Moral of the story: it's better to intervene early than to keep putting it off, saying "we'll come back to it later".
How to repair a hole or a lost stitch?
Simple 5-step method (ideal featured snippet)
1️⃣ Isolate the damaged area: locate the hole or missing stitch.
2️⃣ Stabilize the work : on the left needle, stop the surrounding stitches to prevent the spread from worsening.
3️⃣ Pick up or “bring up” the missing stitch: use a small crochet hook or needle pick to bring the stitch up to the active row.
4️⃣ Reconstruct the row if necessary : follow the side stitches to recreate the lost stitch, then put it back on the needle.
5️⃣ Lightly block or reinforce the area : after repair, block or iron to release any tension, check the hold.
🧠 Key takeaway: With a little calm and the right tools, repairing a small hole or a lost stitch becomes almost routine.
A closer look at “how to pick up a stitch with a crochet hook”
Let's take an example: you saw a column of vertical bars under a stitch. This means: a stitch has dropped and several rows have been released.
▪️ Insert the hook into the “angry” stitch.
▪️ Pull the next thread: a loop forms, reproducing a stitch.
▪️ Continue to the active row and then place the stitch back onto the left needle, making sure “without turning it”.
This is exactly what is described in an excellent tutorial, "How to fix a dropped stitch".
👉 Funny story: Louise stopped dead in her tracks one day after finding a hole under the arm of her sweater… She thought she'd have to unravel the whole thing… until she applied this 3-minute method. What a relief! 😉
Which project should I choose after repair (and to move forward)?
Our recommended models to regain confidence
▪️ Festi : a modern, round-knitted, seamless vest — perfect after a repair to get back on your feet.
▪️ Marguerite : if you wish to move on to a slightly more fun technique (openwork) while benefiting from our educational explanations.
▪️ Câlin : simple sleeveless sweater, ideal for starting out or for a stress-free return after an “incident”.
Prevention tips to avoid holes or lost stitches
▪️ Stop your left needle when you see a slipped stitch.
▪️ Use needle stops or rings when you leave your work.
▪️ Knit in a quiet environment — we've all done it: a stitch can come off in two seconds.
▪️ Regularly block/finish your work to release tension.
▪️ Note your tension (gauge) and adjust it if your yarn is “swimming” too much in the stitch.
💡 Bonus: even after repair, do a local wash test to ensure the "held" area is solid.
💬 Conclusion – You're ready to save your knitting
You see, mending a damaged knit isn't a taboo subject: it's a skill. Now you know why holes appear, how to repair them neatly, and which project to choose to get back on track. At Knit-sis, we believe every stitch counts because behind every project lies your time, your energy, your enjoyment.
👉 Want to ease into a new pattern? Download our free template Doudou — ultra soft, beginner friendly, and the perfect opportunity to start fresh after repair.
👉 Don't forget to sign up for our newsletter to receive your free guide + be informed about our new models.
Have fun, and knit with love 💖
— Lenny & Louise


