How to incorporate beads into your knitting projects?
Knit SisShare
How to incorporate beads into your knitting projects?
Adding beads to a knit is like adding a touch of light—a detail that catches the eye and makes every stitch precious. Whether you want to embellish a collar, brighten a cardigan, or give your projects a festive feel, this article will guide you step by step. You'll find methods , bead selection , application techniques , practical examples , and Knit-sis pattern suggestions to personalize.
By the end of this reading, you will know:
▪️ the different methods for integrating beads (pre-linking, beading as you go…)
▪️ How to choose the beads (size, material, hole)
▪️ Mistakes to avoid
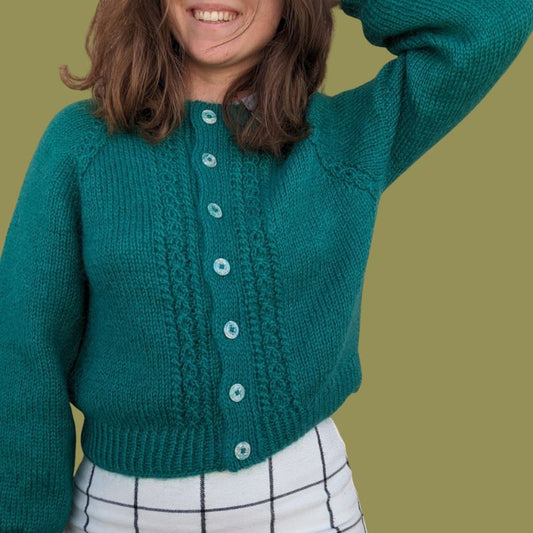
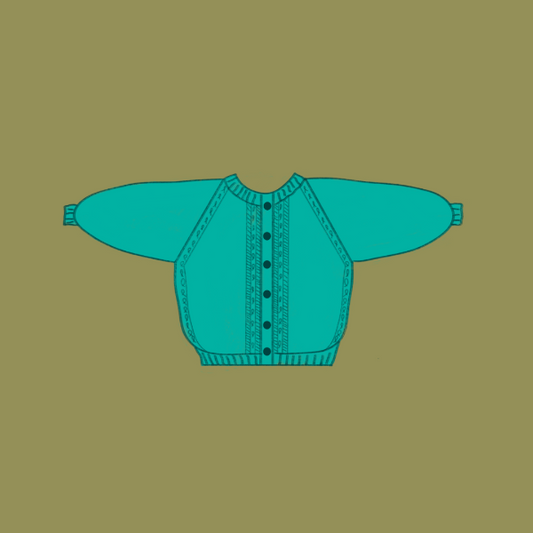
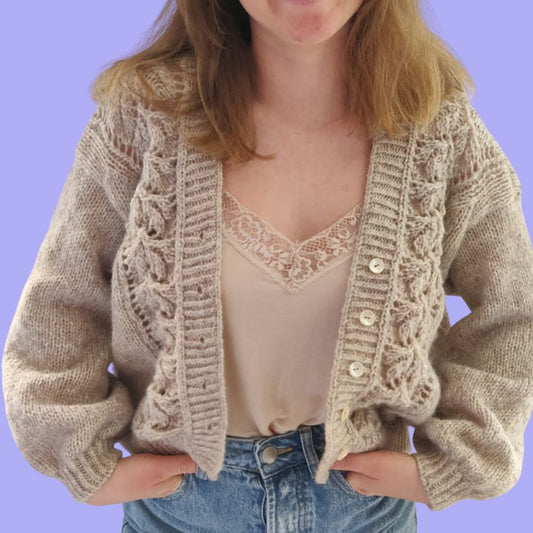
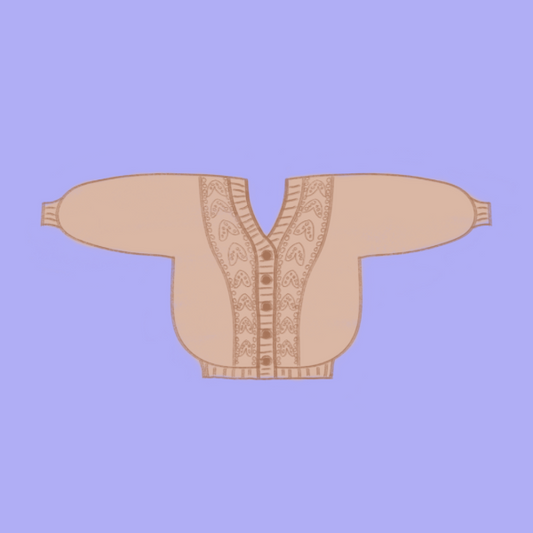
▪️ How to adapt your models ( Splashie , Mondrian , Cardichou type )
▪️ Practical tips and inspiration
1. Why incorporate beads into a knitting project?
▪️ Refined decorative effect : a well-placed bead can transform a simple pattern into a textile jewel
▪️ Point of light / visual accent : on the edge, within a pattern, at specific points
▪️ Personalization & signature : a discreet “Knit-sis” detail
▪️ Weight & drape : the beads add drape to the areas where they are placed
But be careful: they also add weight , can wear out the fiber, and require precision.
2. Choosing the beads: materials & criteria
2.1 Bead size and hole
▪️ Opt for seed beads , often marked 6/0, 8/0, etc. — they have a larger hole
▪️ Check that the hole accepts double or single thread , depending on your project
▪️ A bead that's too small will crush the mesh, a bead that's too big will make it too heavy.
2.2 Bead Materials
▪️ Glass (Miyuki, Toho), metal, plated beads
▪️ Avoid pearls with a fragile coating or plated finish that can tarnish
▪️ Ensure that the material is washable whenever possible
2.3 Quantity & Surplus
▪️ Order 5 to 10% more beads to account for damaged beads
▪️ For knits with many beads, buy in bulk for uniformity
3. Methods for incorporating beads: comparison and tutorials
Here are the most commonly used methods, each with its own advantages and limitations:
3.1 Pre-stringing
You thread all (or some) of the beads onto the yarn before you start knitting. Then, when you reach the next row, you slide the bead into the stitch.
Advantages : “automatic” placement, ideal for regular patterns.
Disadvantages : requires advance planning, can wear out the thread, difficult to adjust during the project.
Jimmy Beans offers a good explanation of this method. Jimmy Beans Wool
The method is also described in the tutorial “Three Ways to Place a Bead While Knitting” (without needing to thread all the beads at the beginning) YouTube
3.2 Beading “as you go”: the crochet/hooking method
Here is the process:
1️⃣ Knit to the stitch where you want the bead
2️⃣ Slip the stitch onto a very small hook
3️⃣ Slide the bead from the crochet hook onto the stitch
4️⃣ Place the stitch back onto the needle
5️⃣ Knit the stitch as planned
This method does not require stringing all the beads in advance and allows for more spontaneity.
Laura Nelkin also presents this technique in her “Knit Tip” videos (several ways to attach a bead) YouTube
3.3 Use of “loop / flossettes” or auxiliary wire (floss / dental floss)
A loop of thread is slipped through, beads are threaded onto it, and they are transferred when needed. This is a good compromise between the two previous methods.
3.4 Aftermarket Sewing
If integrating the beads into the knitting is too tricky, you can sew them on after the knitting is complete, using an invisible stitch. This offers more margin for error, but less of a bond between the bead and the stitch.
3.5 Summary Comparison
|
Method |
Simplicity |
Flexibility |
Preparation |
Ideal for |
|
Pre-sequence |
average |
weak |
high |
regular patterns |
|
Crochet beading |
easy to moderate |
high |
weak |
occasional accents |
|
Floss / loop |
intermediate |
average |
moderate |
mixed |
|
Aftermarket sewing |
easy |
high |
weak |
sensitive projects |
4. Detailed steps to follow to pearl a project
Here is a recommended workflow:
Step 1: Planning & Pattern
▪️ Choose the precise locations of the beads
▪️ Note – for each row – where you want the beads
Step 2: Test / Sample
▪️ Test the chosen method on a few stitches
▪️ Check the tension and sturdiness
Step 3: Preparing the beads
▪️ Thread the necessary beads (if using the stringing method)
▪️ Prepare your accessories (fine crochet hook, floss, etc.)
Step 4: Knitting + Insertion
▪️ Follow your pattern
▪️ Insert the beads according to the method (crochet, floss, stringing)
▪️ Be careful not to pull the yarn too tight to allow the stitch to breathe
Step 5: Checking & Finishing
▪️ Inspect that the beads are correctly positioned and centered
▪️ Tuck in the extra threads
▪️ Gently block (spray) to adjust
5. Common mistakes & tips to avoid them
▪️ Beads too small → do not fit on the thread or split the thread
▪️ The thread is too tight → the beads pull on the stitch
▪️ Poor placement / visual imbalance → plan carefully
▪️ Beads with a fragile finish → opt for wash-resistant beads
▪️ Thread wear due to friction → use beads with well-polished holes
6. Knit-sis ideas and inspirations + pattern adaptations
Here's how your beading skills could enhance your Knit-sis projects:
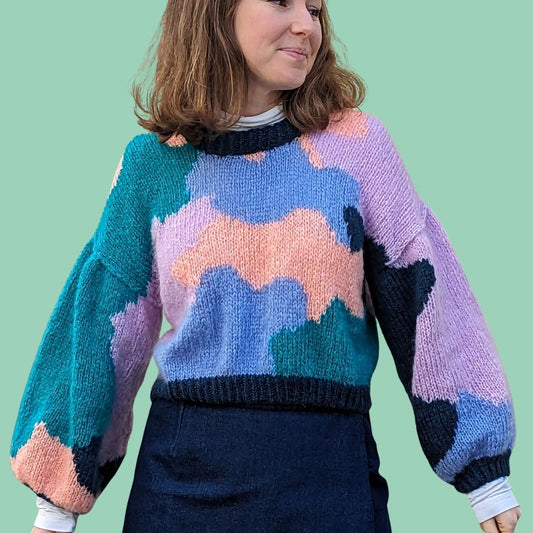
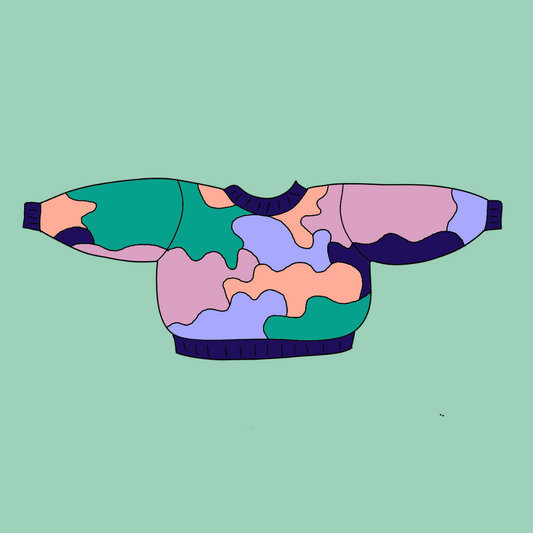
▪️ Splashie Add a row of contrasting beads to the hem or at the color blocks.
▪️ Mondrian A geometric pattern can accommodate beads at the intersections of the blocks.
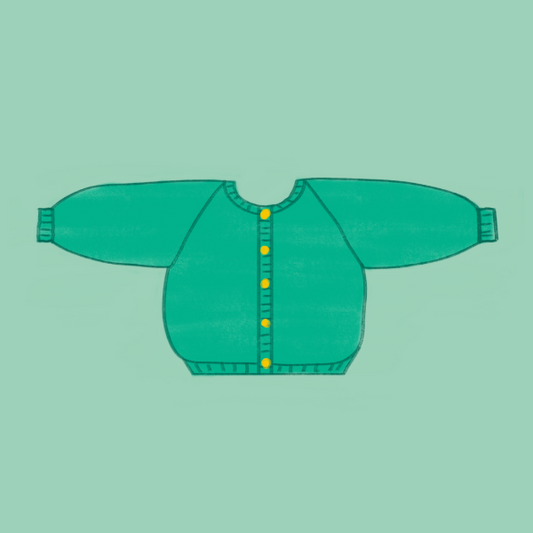
▪️ Cardichou (The Cabbage Vest) : bead the sleeve edges or pockets for a refined effect
7. Recommended video tutorial & external resource
For a clear visual demonstration, here is a helpful video:
And here's a very good written tutorial comparing beading methods (stringing, hooking, looping): How To Add Beads to Knitting
8. Conclusion
Incorporating beads into your knitting is a bit like scattering a star among your stitches: a subtle yet magical touch. With the right beads, the right technique, and a little patience, you can elevate your projects and create pieces that truly sparkle.
👉 Discover our knitting pattern collections
👉 Sign up for our newsletter
Happy knitting, beautiful stitches, and may your projects sparkle! ✨
With gentleness and passion,
Lenny & Louise, your Knit-sis sisters
