


How to create a personalized label for your knitted creations?
Knit SisShare
How to create a personalized label for your knitted creations?
Are you giving away your knits, selling your pieces, or simply want to leave your "made by you" mark on your creations? A personalized label adds a professional touch, a discreet signature, and reinforces the identity of your designs. In this article, we'll look at what type of label to choose , how to design it , how to attach it , and I'll also share our favorites and recommendations from Knit-sis.
In the end, you will have a ready-to-use checklist + inspirations + call to action to test your first label.
1. Why include a personalized label in your knitwear?
1.1 The benefits of a personalized knitted label
▪️ Signature & recognition : each piece bears your “imprint”
▪️ Professional image : even for gifts, it gives a polished look
▪️ Increased perceived value : a piece with a label looks more serious
▪️ Useful information : you can indicate the thread used, the care instructions, and the year.
▪️ Brand consistency if you sell your creations
1.2 In what cases should it be used?
▪️ For personalized gifts
▪️ To sell your knitwear (craft markets, online shops)
▪️ To keep track of your own models
▪️ For “collector” or “limited edition” pieces
2. What type of label should I choose? (and comparison)
Here are the most common types, with their advantages and limitations.
2.1 Woven label
Widely used in clothing, the woven label is soft, durable, washable, and offers a professional finish.
→ A good option if you want something that blends in elegantly.
2.2 Satin label (satin print)
Flexible, often glossy, can be printed with patterns or logos.
→ Good compromise for lightweight designs.
2.3 Leather or imitation leather (faux leather) label
High-end effect, robust, handcrafted look.
→ Ideal if you want a "rustic chic" touch to your creations. ( You can find personalized ones on Etsy )
2.4 Ultrasuede / Synthetic Suede Label
Soft, with a "soft texture" effect, looks lovely on knits.
2.5 Iron-on label or transfer
Attached using heat, with no visible seams.
→ Practical if you don't want to sew, but be careful about how well it holds up in the wash.
2.6 Printed fabric label / cotton
A personalized printed cotton label, which you then sew on
|
Kind |
Benefits |
Constraints |
|
Woven |
durable, professional appearance |
slightly higher cost |
|
Satin |
soft, printed patterns |
A shine that may not suit all styles |
|
Leather / imitation leather |
"Handmade" look, sturdy |
more rigid, requires drilling or strong stitching |
|
Ultraswede |
soft, elegant effect |
expensive depending on the quantities |
|
Iron-on |
easy to install |
less durable depending on washing |
|
Printed cotton |
lightweight, washable |
It can become deformed if installed incorrectly. |
3. How to design your personalized label (design + content)
3.1 Graphic elements & content to include
▪️ Name or logo (your personal “brand”)
▪️ Year or serial number (e.g., “2025”)
▪️ Yarn/care instructions (e.g., “100% wool, hand wash”)
▪️ Discreet message (e.g., “With love, Lenny & Louise”)
▪️ Simple icon(s) (stitch, needles, small heart)
3.2 Design Tips
▪️ Keep it readable : logo or simple text
▪️ Limit the number of colors (2 to 3) to keep the label neat and clear
▪️ Allow for margins (safety edge)
▪️ Choose the size according to the item (smaller for a hat, larger for a sweater)
▪️ Provide a vector file (ai, svg) or high-resolution file
▪️ Request a proof/prototype before printing
3.3 Where to order custom labels?
▪️ Etsy offers numerous options for custom knit labels (leather, fabric, faux-leather)
▪️ EverEmblem for custom printed cotton labels
▪️ Dutch Label Shop for professional-quality woven labels
▪️ SuperLabelStore for labels made for designers (small quantities)
Knit-sis tip: order a few test samples before a large batch, to check the results on your yarns and after washing.
4. How to attach a label to your knitting: methods & tips
4.1 Positioning – where to sew / glue
▪️ Inner hem (bottom of the sweater)
▪️ Cuff or sleeve edge
▪️ Back neckline
▪️ Inside pocket
▪️ “Fly-over” label (small flap)
4.2 Installation Techniques
Hand or machine sewing
▪️ Use thread of the same color as the project
▪️ Backstitch or invisible stitch
▪️ Do not pull too hard to avoid "creasing" the knit
Rivets or eyelets (for leather / imitation leather)
▪️ Pierce gently with a fine awl
▪️ Install sturdy rivets
Heat sealing / transfer
▪️ Apply according to the instructions (time, heat)
▪️ Check compatibility with the knitting yarn
▪️ Topstitch lightly if possible to reinforce
Practical tips
▪️ Secure the label with a few pins before sewing
▪️ Sew one side, then gently stretch the knit to sew the other side without tension
▪️ For “rigid” materials (leather), first place them on a piece of fabric (patch) sewn on with knitting
5. Examples & inspirations Knit-sis
Here are some ideas for incorporating a personalized label into your favorite designs:
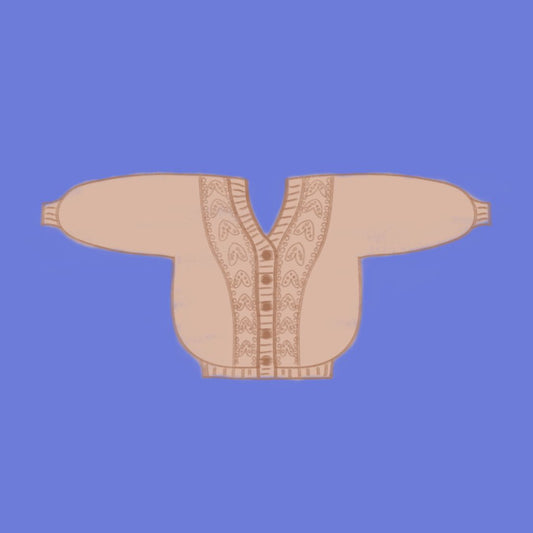
▪️ On the bottom of the Cardichou vest (The Chou Vest) : a discreet “Knit-sis” label on the inside hem. ▶️ See Cardichou
▪️ For Splashie , position a small leather label on the pocket or side handle.
▪️ In Mondrian , add a mini-label to one of the color blocks as a signature. ▶️ See Mondrian
▪️ If you sell vest styles with an openwork design (e.g., Marguerite ), a satin label with your logo will complement the delicate style. ▶️ See Marguerite
The idea: the label becomes a signature detail of your creations, which makes the recipient want to keep it (instead of cutting it off).
Conclusion
Adding a personal touch to your knits gives them a life beyond the stitch itself . With a well-designed label, your creations not only reflect your style, but also your name.
👉 Discover our collection
👉 Sign up for our newsletter 🧶
Happy creating, beautiful labels, and lots of pride in your stitches ✨
With all our passion,
Lenny & Louise, your Knit-sis sisters


