


🧶 How to modify a knitting pattern to add a complex motif (without throwing everything off balance!)
Knit SisShare
You've found a pattern you love… but it's missing that little detail that would make all the difference ? 🌸
Good news: it is perfectly possible to add a jacquard pattern, cables or an openwork stitch to an existing design, without throwing everything off balance.
It's even an excellent way to learn how to understand the construction of a knitting project — and to express your creativity.
We are Lenny and Louise 👋 Two sisters who have been passionate about knitting since childhood (thank you Mamé and our aunt Nanette 💕).
At Knit-sis , we love to revisit our patterns, test new stitches and dare to use colors.
So today, we're sharing our step-by-step method for modifying a pattern and adding a complex motif , without any headaches or complicated calculations.
✨ Why modify a knitting pattern?
Modifying a pattern is a bit like cooking: you start with a solid base and add your own little secret touch .
This allows us to:
▪️ personalize your projects to make them unique;
▪️ progress technically (understand the logic of a pattern, its ratios, its sample);
▪️ transform a simple pattern into a “wow” knit.
💡 Key takeaway:
Modifying a pattern is first and foremost about learning to read its structure . When you understand how the model is constructed, you can adapt everything.
👉 Concrete example: our The Festi vest is perfect for this. Its circular knit and plain body lend themselves ideally to the addition of stripes, jacquard or fancy stitches.
🧵 Step 1: Understand the pattern structure before modifying it
Before diving into the patterns, take a moment to analyze the design .
This is the key to a successful modification.
🔍 Identify the key sections
Identify the main areas of the model:
▪️ body,
▪️ sleeves,
▪️ borders,
▪️ raglans or yoke.
Each zone has its own stitch rhythm and dominant pattern.
A complex pattern placed in the wrong place can disrupt the overall balance (for example, a twist that is not centered on a raglan).
🧩 Choose the ideal location for the pattern
A pattern is often placed:
▪️ in the center of the body ,
▪️ on the sleeves (strong decorative effect),
▪️ or on a vertical panel to elongate the silhouette.
💬 Lenny narrates:
“When I wanted to add a small floral motif to my top-down vest, I started by tracing it onto a paper grid. I then adjusted my stitches so that it fell exactly in the center of the front. The result: a unique vest, without stress or unraveling.”
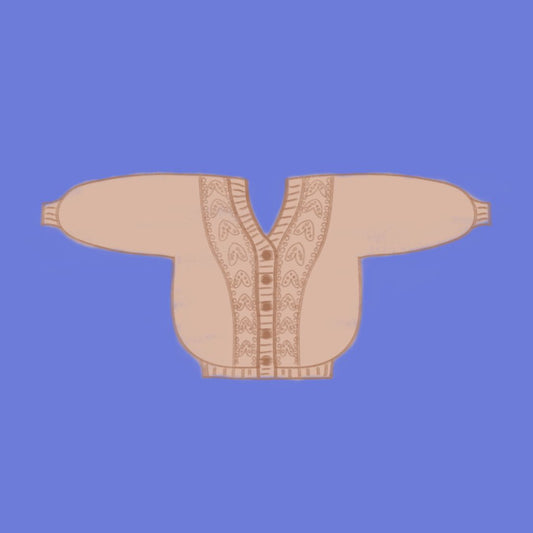
👉 To test this type of addition, the The Cardichou vest is perfect. Its simple top-down raglan construction offers a stable base for customization.
🧮 Step 2: Adapt the stitches to your pattern
Now is the time to get down to brass tacks.
To ensure your pattern integrates harmoniously, you need to adjust the number of stitches .
📏 Calculate the multiple of the pattern
Each stitch (cable, lace, jacquard) has a basic multiple.
Examples:
▪️ Rice stitch → multiple of 2 stitches,
▪️ simple twist → multiple of 6 stitches + 2,
▪️ Jacquard pattern → depends on the diagram.
If the pattern calls for 12 stitches but your panel has 10, you will either need to add 2 stitches or slightly reduce the pattern.
🧶 Check the sample
Make a small sample with the pattern integrated to see if it “pushes” or “relaxes”.
A twist tightens the fabric; lace widens it.
🪡 Lenny's tips:
Always note the stitches added or removed in the pattern margin. This is the secret to not getting lost when increasing stitches.
🔗 Useful external resource: KnittingHelp.com offers excellent guides for calculating stitch ratios.
🎨 Step 3: Test the readability of the pattern (and dare to try jacquard!)
Adding a pattern is also a matter of contrast and readability .
A jacquard or a cable knit only "stands out" if the colours and texture are well chosen.
🌈 Choose a good contrast
▪️ For jacquard , opt for two sufficiently different colors (light/dark).
▪️ For lace , choose a plain wool.
▪️ For twists , avoid yarns that are too fuzzy (they hide the texture).
💡 Get inspired by already optimized models
Some Knit-sis patterns are designed to incorporate or test motifs:
▪️ Splashie sweater → ideal for exploring the technique of colored intarsia.
▪️ Tulip Vest → modern and graphic floral pattern.
▪️ Vasarely → perfect optical puzzle for practicing precision.
🎯 Key takeaway:
Before altering a complete pattern, practice on a small piece.
A well-made sample = hours of unraveling avoided!
🪄 Step 4: Adjust the pattern to fit (and maintain harmony)
Once the pattern has been chosen and tested, care must be taken to maintain the overall balance of the knitting.
🧶 Manage the transitions
When you switch from jersey to openwork stitch or cables, the tension changes.
To avoid a “balloon” or “tight” effect, adjust the needle size or add a few transition stitches.
💧 Check the overall voltage
Measure your knitting as you go.
An unbalanced pattern can alter the overall width of your room.
🌬️ Block your work
This is the magic step ✨
“Our great-aunt always said that blocking is the magic wand of knitting.” — Louise
Blocking evens out tension, reveals patterns and breathes new life into your textures.
💡 Key takeaway:
Patience + testing + overcoming obstacles = successful project 💖
💬 In summary
|
Stage |
Main objective |
Result |
|
1️⃣ Understanding the structure |
Identify the editable areas |
Balanced Knitting |
|
2️⃣ Adjust the stitches |
Adjust the pattern to the dimensions |
Correct proportions |
|
3️⃣ Test readability |
Check contrasts and textures |
Visible pattern |
|
4️⃣ Adjust & lock |
Harmonize everything |
Professional result |
💕 Conclusion: create, test, have fun!
Modifying a pattern means daring to think outside the box.
It's also about learning to knit better, understanding your stitches, and bringing your desires to life.
At Knit-sis , we firmly believe that every knit is a story to tell and yours deserves to be unique.
🧵 Ready to get started?
Try it Free pull-on blanket to confidently experiment with your first alterations.
or discover our collection of easy-to-make patterns 💫


