


🧶 How to add a border to knitting? Simple tips + inspiring patterns
Knit SisShare
Introduction
You've just finished your work, you're admiring your stitches... and there, bam 😅: the edges are curling, the finishes are lacking, or you have the impression that "a little something" is missing.
Good news: adding a border to knitting is THE magic solution ✨ to give style, hold and a real professional finish to your projects.
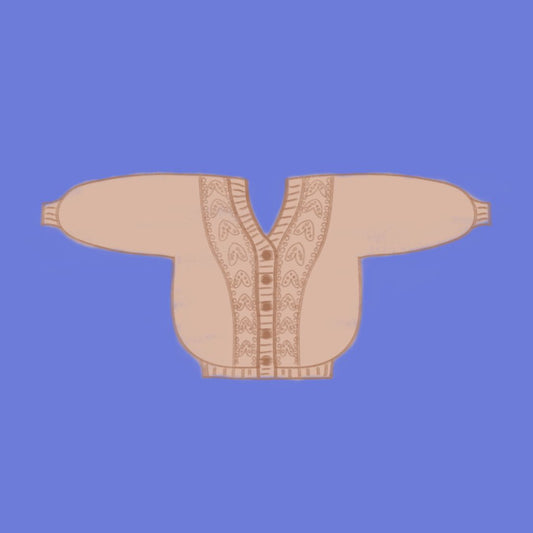
At Knit-sis , we learned the importance of edging early on: our grandmother always added “the final touch” with a garter stitch or a lace border. Today, we pass on these tips in our modern and accessible models, like the cardigan Cardichou , which owes all its sweetness to its soft finishes. 💕
👉 In this article, you'll discover several easy techniques for adding a border to knitting, with concrete examples and our favorite patterns to inspire you.
Why add a border to knitting?
A border isn't just an “aesthetic bonus.” It can:
✅ Prevent rolling (especially in jersey)
✅ Reinforce the hold of a vest or sweater
✅ Add style (lace, twist, fancy stitch)
✅ Make sewing or crocheting easier
✨ Remember: A well-chosen border transforms a simple piece into a unique piece.
The easiest borders to start with
If you're a beginner and want a clean finish without complicating your life, start with these classics:
1. The garter stitch border
The simplest of all 🥰. It avoids rolling and frames the knitting nicely.
👉 Perfect for cuddly sweaters or cozy cardigans.
Example: our free sweater Doudou relies on this soft contrast.
2. The ribbed border (1/1 or 2/2)
Ideal for cuffs, necklines, or sweater bottoms. The ribbing adds stretch and a modern look.
👉 You will find this style in the vest Festi , which plays with the edges for a clean finish.
Creative borders to enhance your knitting
When you want to go beyond the classic, dare to use more “wow” borders ✨:
3. The lace border
Perfect for light, summery or romantic knits.
👉 The vest Aude is a superb example.
4. The twisted border
A little more technical, but so rewarding 💪. The twists create relief and a couture effect.
👉 We love using them in Twist & Shout , our retro vest full of character.
5. The crochet border
Yes, you can mix knitting + crochet for a delicate finish (picots, shells, tight stitches).
👉 Useful Resource: Crochet Edging Techniques
Step by step: how to add a border to finished knitting?
This is THE question we are often asked 👇
1️⃣ Pick up the stitches along the edge (with a circular knitting needle).
2️⃣ Knit your border in the desired stitch (garter, ribbing, lace, etc.).
3️⃣ Folds loosely to prevent the edge from pulling.
💡 Lenny's tip: Pick up about 3 stitches for every 4 rows in stockinette stitch to keep an even edge.
👉 If you want to practice, start with a small project like our Top Poppy (free) .
Conclusion
Adding a border to knitting is the detail that changes everything : more rolling, better hold, and above all, a creative touch that reflects your style ✨.
At Knit-sis , we love playing with these finishes to transform a simple project into a unique piece — like in our Cardichou , Festi , or Aude models .
👉 And you, which border are you going to test first?
Discover our entire collection of modern vests for inspiration 💕.


