


🧶 Advanced modular knitting: assembling complex pieces to create original shapes
Knit SisShare
🌟 Introduction: “Assembling knitted pieces… without losing the thread (or the motivation!)”
You've already found yourself with several knitted pieces... and that little voice saying: "Okay, I'll put them together tomorrow."
Then the day after tomorrow.
Then… never? 😅
We understand you SO MUCH.
We, Lenny and Louise, started knitting with our grandma and our aunt, and we can tell you one thing: sewing and assembly can transform a project... or transform it into an unfinished project in the sewing basket .
➡️ Good news: advanced modular knitting changes everything.
This is THE method for creating original, complex, modern shapes—without having to knit a garment in one piece, or struggle with imprecise seams.
In this article:
✨ Clear explanations
✨ A step-by-step guide you can follow even when you're tired
✨ Our tips tested on our own bosses
✨ Recommended models for you to train on
Hold on tight: you're about to discover how fun, creative and ultra-rewarding assembly can be .
🔍 Advanced modular knitting: what exactly is it?
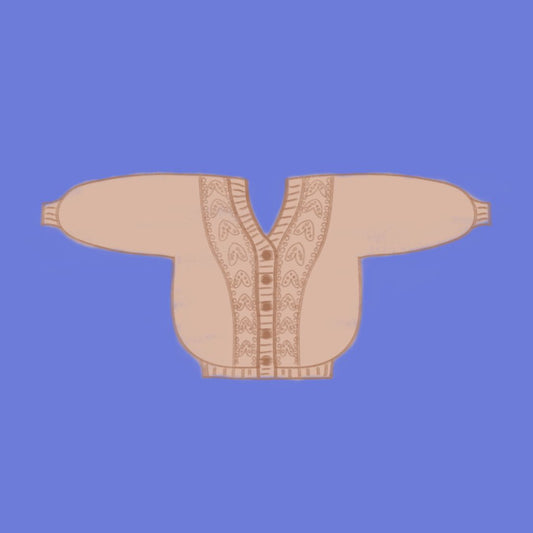
Advanced modular knitting involves knitting several modules (pieces or geometric shapes) separately, then assembling them together to create a garment or accessory with complex shapes, without excessive sewing.
These modules can be:
▪️ squares
▪️ rectangles
▪️ triangles
▪️ slanted sections
▪️ texture or color panels
💡 Key takeaway : This is an ultra-creative approach, perfect for jacquard, intarsia, graphic shapes and modern designs.
🧩 Why adopt modular knitting? (And who is it for?)
Many believe it is reserved for “very advanced” knitters.
Spoiler alert: absolutely not! 🙌
✔ The advantages
▪️ Modularity = freedom : you create exactly the shapes you want.
▪️ Easier to manage : small modules → fewer meshes → fewer errors.
▪️ Ideal for testing colours (hello intarsia and stripes).
▪️ Clean and invisible assembly , even without being a sewing queen.
▪️ Perfect for recycling leftover wool .
🎯 For whom?
▪️ Motivated beginners and intermediate players
▪️ Advanced knitters who want to think outside the box
▪️ Fans of graphic and modern patterns
▪️ Those who like to understand “why it works” (hello analytical brains 💛)
💡 Remember : if you can knit a square, you can knit modularly.
🧶 The essential basics before assembling: our Knit-sis method 🧡
Here we explain exactly what we teach in our workshops—the method we use for Festi, Mondrian, Splashie and all our creative models.
✨ 1. Knit compatible modules
The secret: think about gauge, symmetry and knitting direction .
Checklist:
▪️ Same sample? ✔
▪️ Same tension? ✔
▪️ Same type of border? ✔
▪️ Same knitting direction (ideally)? ✔
▪️ Same material? ✔
🔗 If you want to practice with a simple model in colored modules:
👉 Splashie Sweater — perfect for understanding color mixing smoothly
See the boss
✂️ 2. Clean and invisible assembly techniques
That's often what's scary. But I promise, it's simple.
The methods we recommend:
▪️ Mattress stitch sewing (invisible stitch)
▪️ Pick up stitches along a module
▪️ Grafting / Kitchener (for perfectionists 😉)
▪️ Edge-to-edge junctions
▪️ 3-needle assembly
🎁 A tip inherited from our grandma :
“If you pull too tight, it buckles. If you leave it too loose, it gapes. Look at your thread as if it were a hair: it should glide smoothly without forcing it.”
🎨 3. Choose the right shapes for a modern look
Modular design allows for some seriously fun designs:
▪️ angled panels
▪️ Mondrian-style color blocks
▪️ twisted modules
▪️ triangle games
👉 If you want a graphic design in the style of a modernist sign…
Mondrian sweater
🛠 Tutorial: Assembling complex parts step by step
Here is our method — the one we use ourselves.
🧵 Step 1: Block first, then assemble
Always.
Absolutely always.
Even if you're feeling lazy. 😇
For what ?
➡️ Your modules are sized correctly → clean and straight assembly.
🧵 Step 2: Align the modules using the markers
Our tips:
▪️ Placement of markers in the middle
▪️ Checks for right/left symmetry
▪️ Compare the lengths on a flat table
🧵 Step 3: Choose the correct assembly method
For two identical pieces → mattress stitch
For a panel and a side edge → pick up stitches
For a seamless seam → Kitchener
🧵 Step 4: Assemble from the center outwards
A method inherited from our aunt:
“Start with the heart, end with the wings.”
This prevents voltage fluctuations.
🧵 Step 5: Soft Finishing Touches
▪️ tuck the threads in with a slightly thicker thread
▪️ blocks a second time
▪️ Admire your masterpiece ✨
💡 Key takeaway : assembly is 50% technique, 50% patience.
🧲 3 Knit-sis patterns ideal for learning modular knitting (depending on your level)
🌿 For beginners:
👉 Doudou (free)
Perfect for understanding the balance of parts and simple construction.
🌈 For intermediate level:
👉 Festi – the fun and modern vest
Simple assembly + circular knitted panels
https://knit-sis.com/products/gilet-festi-patron-de-tricot-raglan?utm_source=blog&utm_medium=seo
🎨 For advanced level:
👉 Vasarely – modular graphic forms
Intarsia modules + clean junctions
🎯 Conclusion: You're ready to create original and clean shapes like a pro ✨
With the right methods, advanced modular knitting becomes not only accessible… but downright enjoyable 😍
You can create impossible shapes in “classic” knitting, improvise, explore, and obtain modern clothes that last.
If you want to put all of this into practice today , we recommend:
👉 Festi (for learning)
👉 Mondrian (just for fun)
👉 Vasarely (to shine ✨)
And if you want to receive our exclusive tutorials + a free template:
👉 Sign up for our newsletter: Knit-sis knitting secrets 🧶💛


