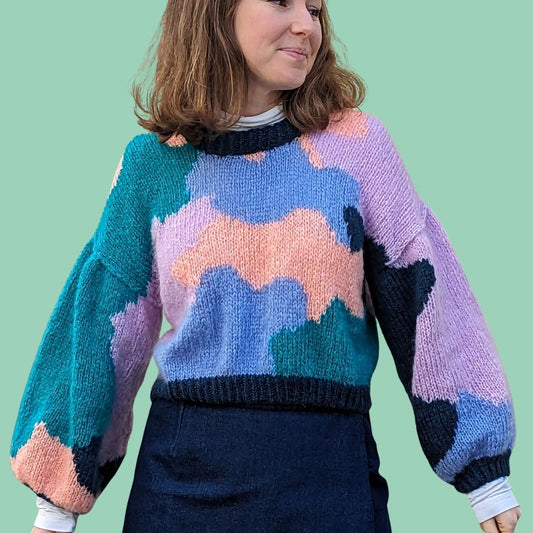
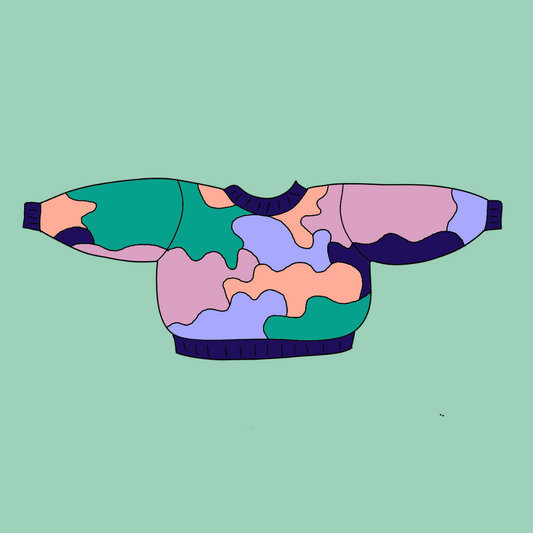
✂️ The steek technique: cutting your knit to transform a sweater into a cardigan (without panicking)
Knit SisShare
🤯 “Cut my knitting with scissors? Are you sure?!”
We know. It sounds completely crazy. But spoiler alert : it's one of the most satisfying techniques we've tested.
Welcome to the magical world of steek , that little word that sounds scary but, when mastered, opens up incredible possibilities. Knitting a sweater in the round and then transforming it into a cardigan? It's possible. And even recommended!
In this article, we explain:
▪️ What is steek (without gibberish)
▪️ When and how to use it
▪️ And above all… how to cut without shaking 💪
📌 What is the steek technique?
A steek is an “extra” area that you deliberately add to your knitting… so that you can then cut it off and turn a sweater into a cardigan. Yes, with scissors.
Historically used in Fair Isle jacquard knits , this technique allows:
▪️ Knit in the round all the way (more fluid)
▪️ Avoid seams
▪️ Easily modify the final shape (sweater → vest, for example)
🎯 Why use a steek?
✅ The good reasons:
▪️ Knit symmetrical patterns without back and forth
▪️ Gain speed (bye bye flat knitting)
▪️ Add a central opening , even after the fact
❌ When we avoid:
▪️ Slippery or non-elastic threads (cotton, bamboo, etc. not ideal)
▪️ Total beginner in knitting (start with Cardichou 🧶)
▪️ If you don't want to stress about using a pair of scissors (and that's OK too)
🧶 Louise's memory : “I dared to try steek to transform a sweater into a cardigan after 10 years of knitting... And I only regretted one thing: not having tried it sooner!”
✂️ Step-by-step tutorial: how to make a steek without drama
🪡 1. Create the steek area
Add 5 to 7 center stitches where you want to open. These stitches are only used for one thing: to be cut later 😬
➡️ Knit them in stockinette stitch, or by alternating two colors to visualize them clearly.
🧵 2. Secure the edges
Before cutting, secure with:
▪️ Two lines of machine sewing
▪️ or a tight backstitch by hand
🎯 Goal: to prevent the stitches from slipping (literally).
✂️ 3. Cut (the fateful moment)
Cut between the seam lines. Breathe. You've just made a steek.
💥 And no, your knitting won't disintegrate.
🧷 4. Finishing touches
You can :
▪️ Pick up stitches for a clean edge
▪️ Add buttons or a zipper
▪️ Place a bias to reinforce the inside
✨ Tip: Use a project with a slightly “catchy” yarn (like in the Marguerite vest ) for a more stable steek.
💡 To remember (to stick on the fridge 🧲)
|
Stage |
Knit-sis Tip |
|
Wool |
Choose an animal and hairy fiber (rustic wool = more stable) |
|
Steek |
Add a central area of at least 5 stitches |
|
Security |
Machine sewing or embroidery required |
|
Finishes |
Borders, bias, creativity to the max ✨ |
🧶 Knit-sis patterns to discover before starting Steek
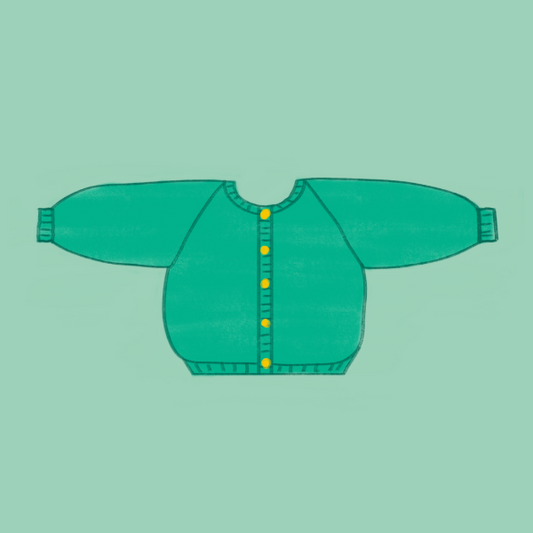
▪️ 🧡 Cardichou – our favorite, top-down, quick-fire cardigan
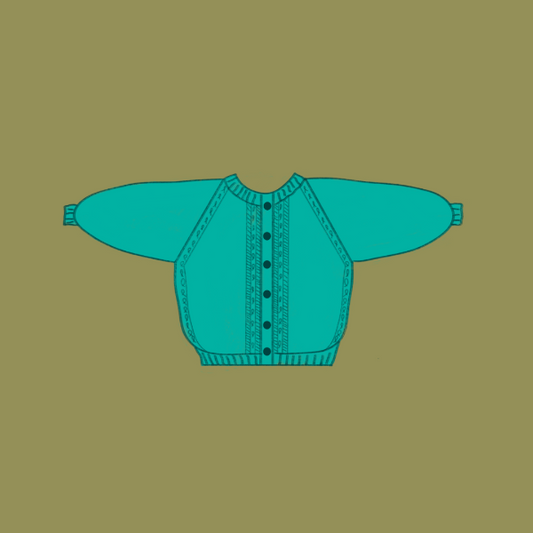
▪️ 🌼 Daisy – delicate openwork stitch, perfect with a soft border
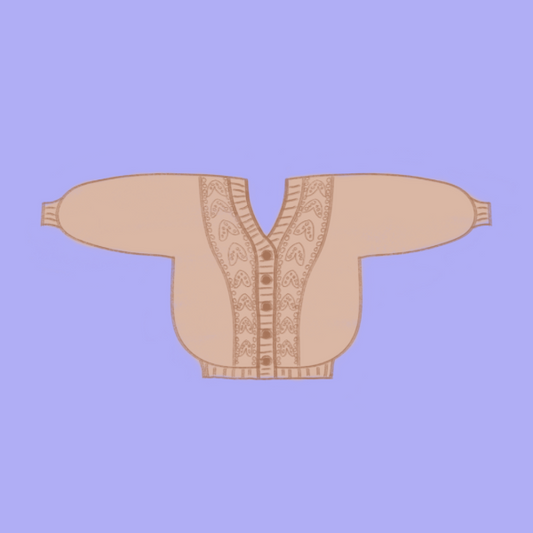
▪️ 🎉 Festi – to test the steek on a fun and colorful project
🎯 Conclusion
Yes, cutting your knitting is scary. But mastering steeks opens up a whole new world of possibilities for your knitting projects.
And frankly, there are few feelings as satisfying as transforming your favorite sweater into a unique handmade cardigan 💛
👉 Want to get started?
Start with our model Cardichou or explore the complete collection of vests.
And to receive our next tutorials and free models:
📬 Sign up for our joyful newsletter
